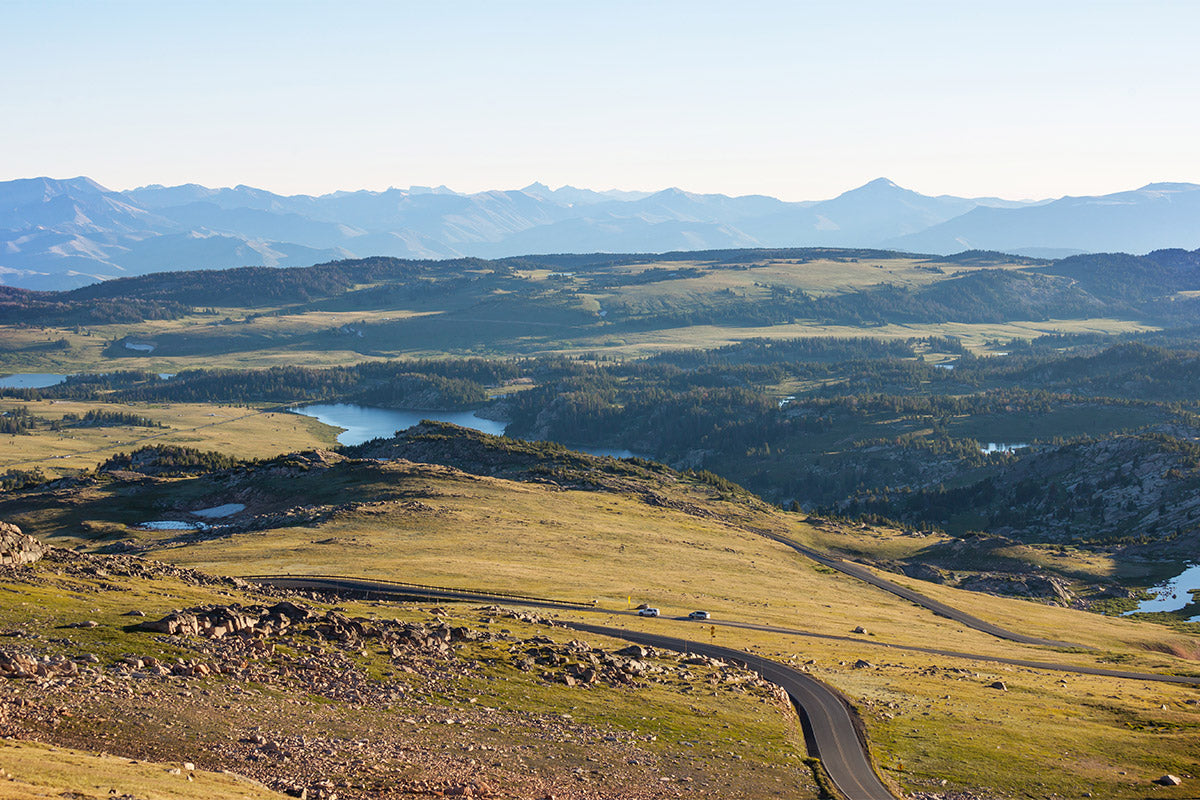
Public land offers some of the most exciting and challenging hunting opportunities out there. The deer are wild, the pressure is high, and success often comes down to outsmarting both the game—and the crowd. One way to gain an edge? A well-placed trail camera.
But using trail cameras on public land comes with a different set of rules—both written and unwritten. If you’re not careful, you can find yourself wasting time, losing gear, or even breaking the law.
So before you strap a cam to the nearest tree, here’s what every hunter should know about staying legal, ethical, and effective when running trail cameras on public hunting ground.
✅ DO: Know the Laws (They’re Not the Same Everywhere)
Let’s get one thing out of the way—not all states allow trail cameras on public land, and among those that do, the rules vary widely. Some states ban them altogether. Others allow non-cellular cams only. Some require your name and contact info to be visible on the device.
Your first move? Check the website of your local wildlife agency or game commission. Search for regulations under terms like:
- “public land trail camera rules”
- “non-motorized equipment use”
- “cellular trail camera restrictions”
Pro Tip: Even in legal areas, some agencies prohibit placing cameras on certain infrastructure like water tanks, guzzlers, or man-made blinds.
❌ DON’T: Assume It’s Fair Game Just Because It’s Public
Respecting shared spaces is crucial. Remember, you’re not the only hunter out there. Don’t place cameras in high-traffic areas where they could interfere with others’ hunts, and never remove or tamper with someone else’s gear.
Tampering with another hunter’s trail cam isn’t just unethical—it’s illegal. If you didn’t place it, don’t touch it.
✅ DO: Secure Your Camera (But Be Realistic)
Unfortunately, gear theft on public land is real. Trail cameras are often targeted due to their portability and value. While there’s no 100% theft-proof setup, there are smart ways to reduce your risk.
Best Practices:
- Use Python cable locks and steel security boxes.
- Mount cameras higher than eye level—6–8 feet off the ground is ideal.
- Aim the lens slightly downward for a better angle and lower visibility.
- Camouflage your setup with brush or bark that blends into the environment.
Black Gate’s R4G Series pairs well with locking accessories, and their discreet, low-glow infrared LEDs help keep them undetected after dark.
❌ DON’T: Rely on Cellular Cameras Where There’s No Service
Cellular trail cameras are incredible—but only if there’s signal. Many public lands are remote, mountainous, or heavily forested, and your cam might not have the bars needed to send images.
Instead:
- Bring a standard SD-card-based camera like the Black Gate R4G LITE if cell service is weak or unreliable.
- Use high-capacity SD cards and lithium batteries for longer deployment.
Then plan periodic checks every 2–4 weeks, preferably during midday when animal activity is low.
✅ DO: Place Cameras in Low-Pressure Zones
The best trail camera spots on public land usually aren’t within 50 yards of the parking lot. Smart hunters go deeper.
Focus on:
- Saddle points or ridge crossings
- Remote water sources
- Pinch points between bedding and food
- Creek crossings and funnel trails far from established paths
These areas are less likely to get foot traffic and more likely to reveal mature buck activity. Use a topo map or satellite imagery to identify terrain features that funnel movement.
❌ DON’T: Hang Cams Without Scent and Access Strategy
Every time you step into the woods, you’re leaving a trace. That scent—along with your noise and disruption—can push game out of the area before you ever get a photo.
Before placing your cam:
- Wear scent-free gloves
- Avoid brushing against vegetation
- Approach from a downwind direction
- Minimize time spent at the site
The point is to scout without educating the deer. And once the camera is up—stay out until it’s time to pull your card or retrieve your images.
✅ DO: Log and Label Your Setups
Public land is big, and if you're running multiple cameras, it’s easy to lose track of where you’ve placed them—especially when you're a mile deep.
Keep notes in a hunting app or GPS tool:
- Mark cam locations with pins
- Record the date you placed each one
- Note habitat features, sign, and direction the cam is facing
With Black Gate’s user-friendly interface, setup is quick and consistent—even in tough terrain. Fewer mistakes mean better data and more efficient scouting.
❌ DON’T: Overstay in a Burned-Out Area
Deer behavior on public land is sensitive. When a camera gets no activity after a couple of weeks, it’s probably time to move.
Don’t fall into the trap of "hoping something shows up." Rotate your cameras, explore new ground, and chase fresh sign.
Trail cameras are meant to provide real-time information—use them as part of a mobile, adaptive strategy.
Final Word: Hunt Smart, Hunt Respectfully
Public land hunting is one of the most rewarding challenges in the sport. When used ethically and strategically, trail cameras can give you the edge you need—without stepping on the toes of fellow hunters or the regulations that protect these shared spaces.
At Black Gate Trail Cameras, we build gear tough enough for public land and smart enough for the modern hunter. Whether you’re going deep, going mobile, or going wireless, our cameras are designed to perform wherever your season takes you.
Before you head out, check your local rules, respect your fellow hunters, and scout with intention. Because out here—every move counts.


Share:
Cellular Trail Cameras 101: Everything You Need to Know Before Going Wireless
How Trail Cameras Can Help You Pattern Mature Bucks Year-Round